Ted Boardman tedb@tbmax.com http://www.tbmax.com
Fundamental Lofting Methods in VIZ and max
The topic of Lofting in 3ds max or Autodesk VIZ has come up fairly often in the VIZ support forums lately so I thought I would use the bulk of this months column to touch on the process. To me, it is the most powerful modeling tool in max and VIZ, but one that is often underutilized because of some seemingly "strange" behavior when using it. The behavior is not really strange, but lofting is unlike any creation method you use in other software so it requires that you know a few simple concepts in order for it to make sense.
As a quick aside, the term Lofting comes from old ship building practices where the patterns for ribs of a ship were all laid out in the upstairs loft of the ship builders shop. Long, thin metal bands, or splines, were set on edge and bent to the curvature of the hull at given points along the keel. To hold the splines in place so the lines could be traced on the patterns, the ship designer place heavy steel or lead "ducks" at the tangency points. To create the hull, the ribs (loft shapes) were then attached along the keel (loft path) and the planking was attached to form the hull (mesh object).
But I don't speak the language…
There are certain terms in max/VIZ lofting that need to be explained before starting.
• Shape: a Shape is a 2D object in max or VIZ. It may occupy 3D space as a Helix shape does, but does not have any surface information. A Shape has a name and a color.
• Spline: a Shape must contain at least one sub-object level spline, but a Shape is a Compound Shape if it has more than one Spline. For example the Donut primitive is a Compound Shape made of two splines, i.e. concentric circles
• Loft Path: the Shape that defines the extrusion length of the loft object
• Loft Shape: the Shape that define the cross-sections of the loft object
A loft object can have only one continuous closed or open 2D spline as a path. A loft object can have an unlimited number of open or closed shapes as cross-sections.
Each shape or path can have an unlimited number of vertices and different shapes can have different numbers of vertices each.
Each shape on a path must have the same number of splines. For example you cannot loft a Circle and a Donut primitive on the same loft path.
• Local Reference Coordinate System: there are seven different coordinate systems in VIZ and max, but the Local system is most important in lofting. Essentially the Local system is the system of the shape as it is created. When you create a shape in any given viewport the rule is that Local positive X axis is to the right, Local positive Y is up, and Local positive Z is out toward the viewer. This Local coordinate system stays relative to the shape as the shape is rotated.
• Pivot Point: the pivot point of a shape is usually positioned at the geometric center of the bounding box of the shape. It can be repositioned through the Hierarchy panel. The pivot point defines the apex of the X, Y, and Z axis of a shape. See Figure 1.
• First Vertex: each 2D spline has a First Vertex indicated by a white box when in sub-object Vertex mode. Open splines can have either end vertex as First Vertex and closed spliness can have any vertex as First Vertex.
Tip: The First Vertex of a shape can be seen when in Sub-object Vertex editing mode. However, you can also view First Vertex at any time by selecting the shape(s), right-clicking and choosing Properties, and checking Vertex Ticks in Display Properties, By Object menu.
The Pivot Point and First Vertex are very important in the lofting process and a lack of understanding of them is probably the prime reason for frustration while lofting.

Lofting
Ted Boardman tedb@tbmax.com http://www.tbmax.com
Fundamental Lofting Methods in VIZ and max
The topic of Lofting in 3ds max or Autodesk VIZ has come up fairly often in the VIZ support forums lately so I thought I would use the bulk of this months column to touch on the process. To me, it is the most powerful modeling tool in max and VIZ, but one that is often underutilized because of some seemingly "strange" behavior when using it. The behavior is not really strange, but lofting is unlike any creation method you use in other software so it requires that you know a few simple concepts in order for it to make sense.
As a quick aside, the term Lofting comes from old ship building practices where the patterns for ribs of a ship were all laid out in the upstairs loft of the ship builders shop. Long, thin metal bands, or splines, were set on edge and bent to the curvature of the hull at given points along the keel. To hold the splines in place so the lines could be traced on the patterns, the ship designer place heavy steel or lead "ducks" at the tangency points. To create the hull, the ribs (loft shapes) were then attached along the keel (loft path) and the planking was attached to form the hull (mesh object).
But I don't speak the language…
There are certain terms in max/VIZ lofting that need to be explained before starting.
• Shape: a Shape is a 2D object in max or VIZ. It may occupy 3D space as a Helix shape does, but does not have any surface information. A Shape has a name and a color.
• Spline: a Shape must contain at least one sub-object level spline, but a Shape is a Compound Shape if it has more than one Spline. For example the Donut primitive is a Compound Shape made of two splines, i.e. concentric circles
• Loft Path: the Shape that defines the extrusion length of the loft object
• Loft Shape: the Shape that define the cross-sections of the loft object
A loft object can have only one continuous closed or open 2D spline as a path. A loft object can have an unlimited number of open or closed shapes as cross-sections.
Each shape or path can have an unlimited number of vertices and different shapes can have different numbers of vertices each.
Each shape on a path must have the same number of splines. For example you cannot loft a Circle and a Donut primitive on the same loft path.
• Local Reference Coordinate System: there are seven different coordinate systems in VIZ and max, but the Local system is most important in lofting. Essentially the Local system is the system of the shape as it is created. When you create a shape in any given viewport the rule is that Local positive X axis is to the right, Local positive Y is up, and Local positive Z is out toward the viewer. This Local coordinate system stays relative to the shape as the shape is rotated.
• Pivot Point: the pivot point of a shape is usually positioned at the geometric center of the bounding box of the shape. It can be repositioned through the Hierarchy panel. The pivot point defines the apex of the X, Y, and Z axis of a shape. See Figure 1.
• First Vertex: each 2D spline has a First Vertex indicated by a white box when in sub-object Vertex mode. Open splines can have either end vertex as First Vertex and closed spliness can have any vertex as First Vertex.
Tip: The First Vertex of a shape can be seen when in Sub-object Vertex editing mode. However, you can also view First Vertex at any time by selecting the shape(s), right-clicking and choosing Properties, and checking Vertex Ticks in Display Properties, By Object menu.
The Pivot Point and First Vertex are very important in the lofting process and a lack of understanding of them is probably the prime reason for frustration while lofting.
Figure 1: Selection set of shapes with First Vertex showing as white box on vertex
The Pivot Point of the Shape attaches to the First Vertex of the Path. An AutoCAD analogy for Pivot Point during lofting would be the Insertion Base Point of a block.
The orientation of the shape on the path is a bit more complex. I'll talk you through it here and show an example, then discuss it in more detail later. The local Z axis of the shape aligns itself "down" the path and the local Y axis of the shape aligns with the local Z axis of the path. See Figure 2.

Let's Loft…
The lofting process itself is simple enough, but there are a couple of options worth mentioning. Lofting is found in the Create panel, Geometry, Compound Objects pull-down menu. See Figure 3. You must have a valid 2D shape selected or the Loft button will be grayed out.
In the Creation Method rollout are two options Get Path and Get Shape. The usual workflow is to have the path selected and to use the Get Shape option. However, you could select the shape and use Get Path. The determining factor is that whichever object is selected remains in place and the other, Shape or Path, reorients and moves to the selected shape. For all examples in this column I will select the path and use Get Shape.
Just below Get Path and Get Shape are some very important options; Move, Copy, and Instance. The default is Instance. This means that a clone of the shape jumps to the path, not the shape itself. The advantage of this option is that you can modify the original 2D shape and the lofted 3D mesh will change accordingly.
The Move option actually moves the original shape to the path and Copy places a clone of the shape with no connection to the original making either choice much less editable. I have never found the need to use either Move or Copy.

Figure 3: Loft panel
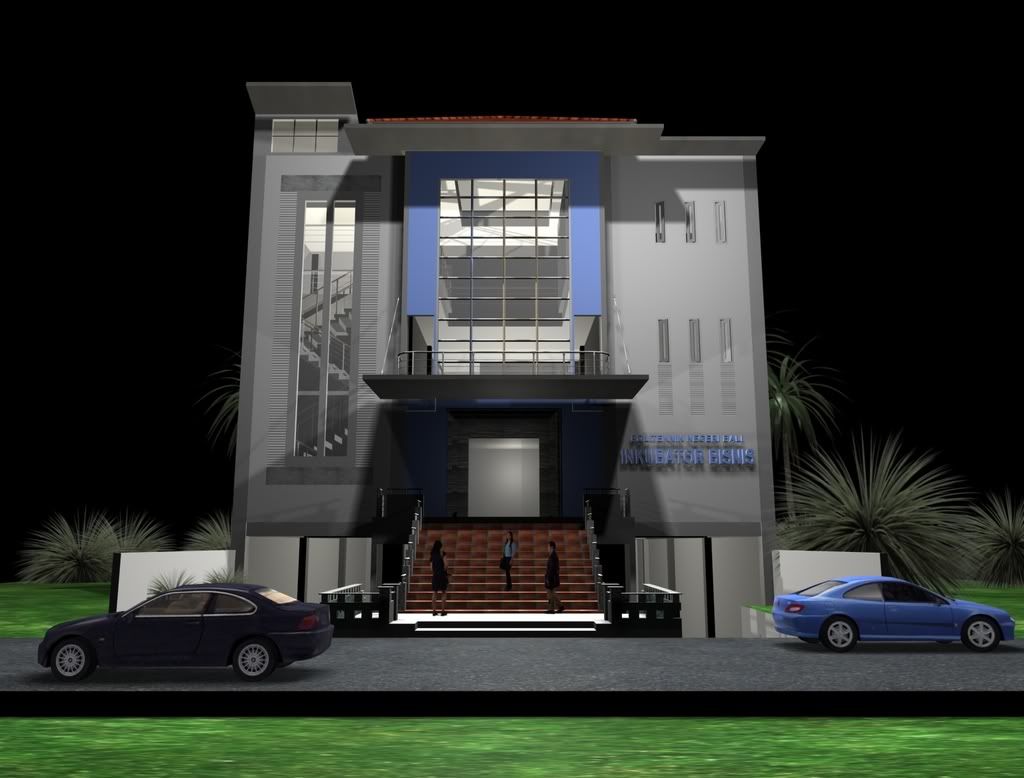
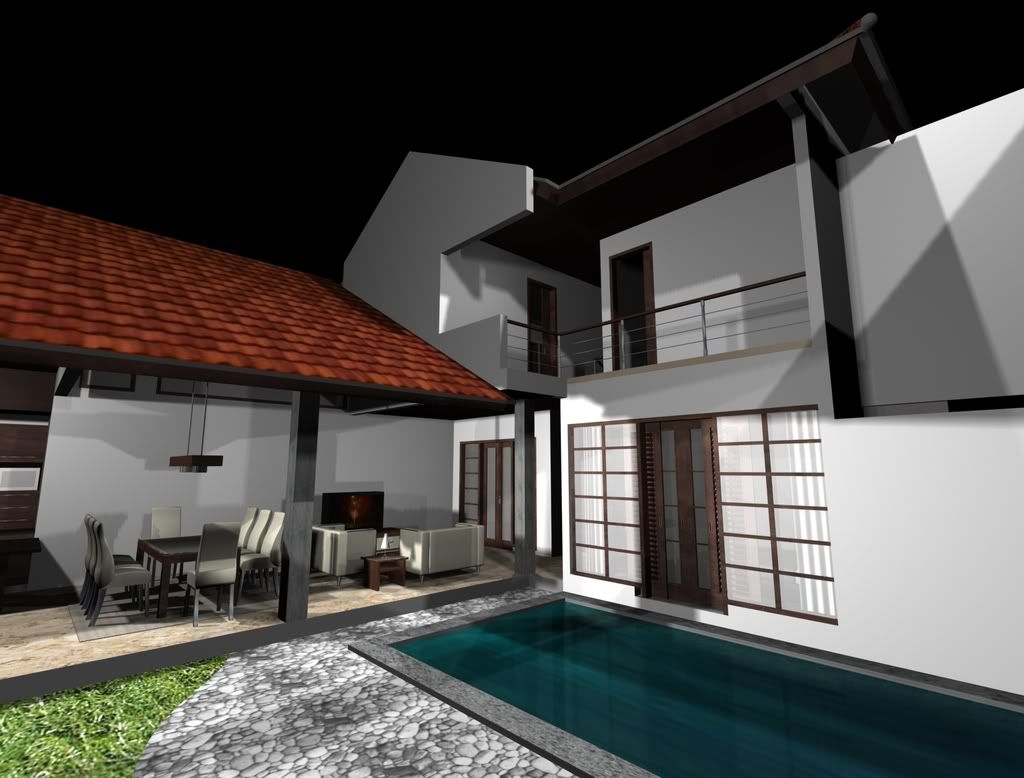
In Figure 4, most of the walls, glazing, and seating are lofted from 2D shapes, allowing quick and easy editing.
As I say, the fundamental process is simple enough, but there are more options that you must understand to make a lofting efficient modeling choice.

Lofting Efficiency…
If you want 3ds max and Autodesk VIZ to be a cost effective tool in your office, you MUST keep models as simple as possible. Modeling overhead is the primary hindrance to production that I encounter in my training session. Each vertex and face in a model uses valuable computer overhead and you can very quickly overwhelm even the most powerful systems and render them useless in an office. Would you buy a new car and load it up with heavy weights just for the heck of it? Of course not, so it always baffles me when I see overloaded models in max and VIZ, it's the same thing.
Lofting offers controls for adjusting mesh density of models while retaining the necessary details. First we have two new terms to learn:
• Shape Steps: Shape Steps are intermediate points between vertices of the shape that define curvature in the connecting shape segment
• Path Steps: Path Steps have the same function between vertices on the path.
When a shape is lofted along a path, segments are created in the loft mesh for each vertex and path/shape step. Figure 5 shows the previous loft object with Edged Faces turned on in the viewport configuration options.

If I right-click on the selected mesh object and go to Properties, I can see that the object has 5136 faces. If I go to the Modify panel, Skin Parameters rollout, I see two spinners for Shape Steps and Path Steps. Each is set to 5 by default in 3ds max 4 and Autodesk VIZ 4. See Figure 6. VIZ 3 has a default setting of 0 for each of the Steps.

If I set the Path Steps to 0, there is no longer enough information to show the curvature between the vertices. The object has less detail, but is not acceptable to the viewer. See Figure 7.
Increasing the Path Steps to 3 might give an acceptable level of detail depending on the distance from the camera or the background and reduces the overall face count to 3552. You must be the judge of how much detail is enough, but you have the option to change it at any time to optimize the object for any occaision.

Looking at the shape for the loft you will notice that there are no curves in either the L-shaped spline or the letters x and y. Setting the Shape Steps to 0 in this case has absolutely no effect on the detail of the mesh object. See Figure 8.
Reducing the Shape Steps to 0 of this loft object has no effect on the quality and reduces the face count to 582. This is a huge savings in memory resources when done for all your lofted objects in the scene. As a matter of fact, I can now increase the Path Steps back up to 5 resulting in much higher visual quality and still only have 846 faces.

Just below the Path Steps and Shape Steps spinners is a checkbox labeled Optimize Shapes. If I had checked this option instead of setting Shape Steps to 0 it would have resulted in the same savings. What Optimize Shapes does is an intelligent analyzing of the shape and will reduce the number of steps in the straight portions of the shape and leave the curved portions set to the number in Shape Steps field. This can result in the best of both worlds for many typical shapes used in lofting.
Remember the definition of Shape Steps and Path Steps - intermediate steps between vertices that define curvature in the segment. If you do not have adequate steps then you must have vertices to define the curvature.
Figure 9 shows a rectangle lofted along a filleted path. This could be a sidewalk, road, countertop, in fact it could many different things if you use your imagination to apply the tools.

There is Optimize Path option in the Modify panel of a loft object, but I have never seen it active and available so I don't have the same options as with Shapes. However, I can adjust the number of vertices to get the same results. Setting the Shape Steps to 0 or checking Optimize Shapes results in 148 faces. However, reducing the number of Path Steps quickly destroys the detail in the curve portion of the sidewalk. Setting it to 0 results in a useless object as seen in Figure 10.

To correct this I will select the original path, go to Segment sub-object level in the Modify panel and select the curved segment of the path. In the Geometry rollout, I will enter 4 in the Divide field, then pick the Divide button. This adds 4 vertices along the segment and redefines the curvature to that segment without adding unnecessary detail along the straight segments. The result is an object with a good balance of detail and efficiency with only 60 faces in the entire walk. See Figure 11.

In Summary…
I have touched on the fundamental issues in lofting that are responsible for most confusion when initially learning to loft. There are still topics that I want to cover to increase the control in both the orientation of shapes along the path and the use of multiple shapes on the same path.
As I say, even if your primary modeling tool is AutoCAD or ADT or any other program, VIZ and max lofting offers some very unique and power features that will allow you to model and edit objects just not possible in the other programs. Take a little time to investigate the tools and I guarantee you will find plenty of uses in your everyday work.






No comments:
Post a Comment